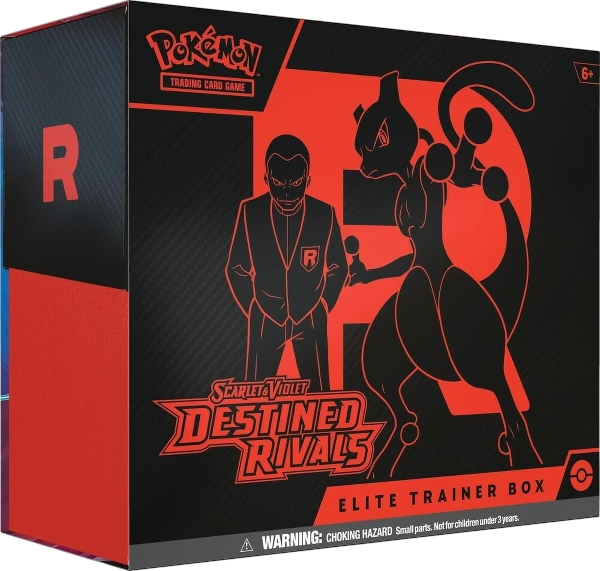
Keep the retailer’s product page available so you can copy its exact title and URL. Have your contact details, shipping address, billing address and payment card ready for the profile form. Use details you are authorized to use and check that the retailer can ship the item to your address.
Review the membership plans and fees before creating your setup. Profile allowances and service fees vary by plan. The price charged by the retailer is separate from Snagged’s membership and profit cut.
If you are still deciding what a managed service does, start with how Snagged automated checkout works.
Use Get started with Discord on Snagged’s website and complete onboarding. Choose the retailers you intend to use so your account reflects the stores you are following.
Check each retailer’s status. Live support, beta support and a coming-soon entry mean different things; selecting a retailer does not make an upcoming integration available. You can review retailer selections later in Settings.
Open Profiles and create a profile with a recognizable name, such as “Main Target profile.” Select the matching retailer and fill in the contact and delivery fields. The form supports a separate billing address when it differs from shipping.
Review the payment card’s expiry date, billing address and delivery details before saving. After saving, check the retailer and the masked card details shown in the profile list to make sure you used the intended card.
If you already have several profiles, the import option accepts CSV or JSON. Review the default retailer used for rows without their own retailer field, and confirm that the import fits your plan’s profile allowance. Start with a single profile if you are learning the workflow.
Open Watchlist, choose Add item and select the product’s retailer. The details you enter should describe one clear purchase request:
- Product name and link
- Copy the exact listing name and URL. Include the edition or variant in the name when that is part of what you want.
- Maximum price
- Enter the price limit deliberately. The form allows an empty value, shown as “No limit,” so leaving it blank does not express a budget.
- Quantity
- Use the retailer’s sale unit. For a bundle, one unit means one bundle rather than each item inside it.
- Priority
- Choose low, normal or high to describe your preference. This is not a guarantee of stock or checkout success.
- More details
- Add a SKU or TCIN and useful notes. Confirm special requests with the team instead of assuming a note changes the checkout behavior.
Once saved, review the item’s retailer, quantity and maximum price in the watchlist. You can pause or resume the request, mark it done or remove it. For a TCG product, see the Pokémon product-target checklist.
For a time-sensitive drop, confirm the product and setup with the team in advance. Saving a watchlist item records your request; it does not confirm that a checkout task is running. Pausing or removing it does not stop an active task, so contact the team and confirm the stop when necessary.
The dashboard contains your checkout history. If you also want updates in your own Discord channel, open Settings and find Discord updates under Preferences.
Use a webhook for a channel you manage. Discord’s Server Settings → Integrations → Webhooks is the location referenced by the form. Paste the webhook URL into Snagged’s Webhook URL field and save your changes. Leaving this field blank turns that forwarding off.
Review your timezone in the same settings area so activity and drop times are easier to follow. A checkout update reports an outcome; it is different from a restock alert that asks you to place the order yourself.
After a drop, open Checkouts. Look at the retailer, product and status, including any declined or failed attempts. Follow the retailer’s order confirmation and shipping messages to track fulfillment.
If you got what you wanted, check all related watchlist entries, update their status and confirm with the team that any tasks you no longer want have stopped. If an order is later cancelled, use the cancellation-claim workflow so the service invoice can be reviewed. Keep your invoice status separate from the retailer’s payment and order status.
Your computer does not have to remain on for Snagged’s checkout setup to run. The part to revisit is your saved information: an expired card, an old address or a product you no longer want should be updated before the next drop.
Your next step
Make your next drop easier to manage.
Review the plans, choose your retailers and set up the products you actually want.